
|
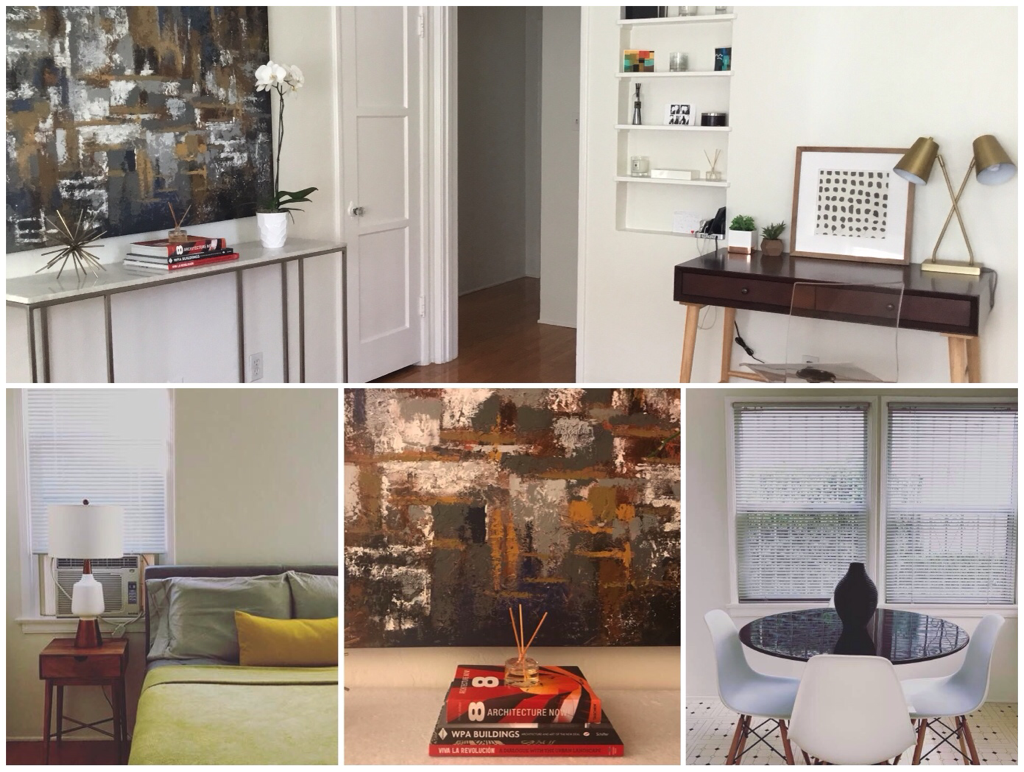
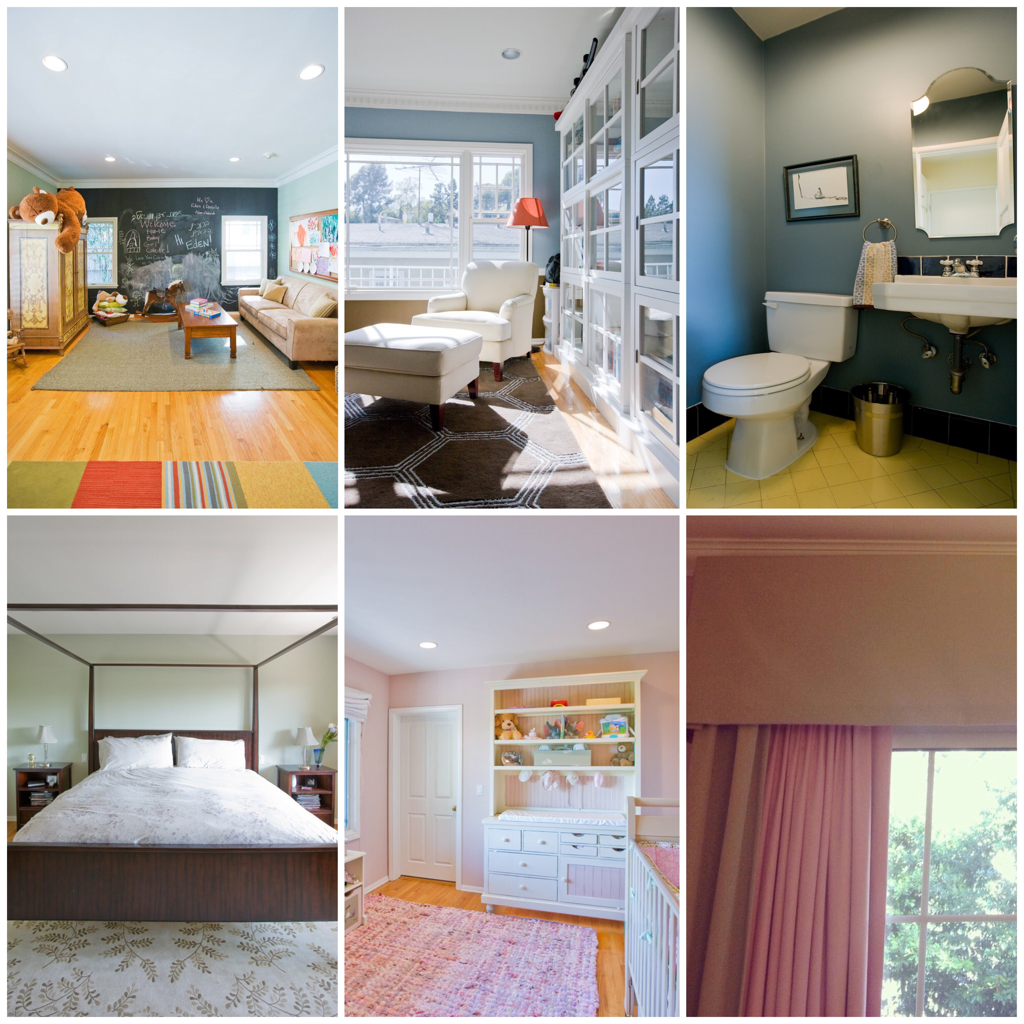
Taking great interior design photos is an art and a science – and incredibly difficult to get right. Mostly, it’s done by professionals with extremely expensive standalone cameras. Now, though, many people are wondering whether their phones fit the bill. Is it possible to take great interior design shots on an iPhone? Well, it depends on who you ask. Die-hards will always tell you that it isn’t. You simply can’t get the quality you need. But more open-minded people will tell you that it’s not just possible, it’s downright desirable. This post takes the view that the latter is true: you can use your iPhone to take interior design photos. However, it takes a bit of planning and preparation. Here’s what you need to do to get good results. Shoot The Same Object From Different Angles And Distances Getting perfect interior design photos involves a bit of trial and error. Chances are that practically all of the photos you see online were taken as part of a much bigger set and then selected later when the editor whittled the album down to just one solitary photo. That’s why it’s a good idea to change the angle, distance to the subject, and even the lighting. You can then review all the photos and see which one makes the most sense for the room you want to shoot. Keep Your Lines Straight  Unsplash - CC0 License Behind every great interior design shot, there’s a certain linear logic. Don’t believe me? Just take a look at any popular stock interior photo. You’ll notice that all the lines match up with the angle of the photo perfectly. Images tend to look really bad when lines don’t line up. But they can look great when they do, according to https://www.youtube.com/watch?v=ukbrg7vEFMs. You want as many vertical and horizontal elements in the image to line up with the angle of the picture as possible. (It won’t always work 100 percent of the time because of perspective. In these cases, just make sure that the most prominent lines line up). For instance, if you’re taking a photo of a bathroom, make sure that the bath is horizontal and that the lines between the tiles are vertical. Likewise, in the kitchen, keep the countertops horizontal and the gaps between the cabinets vertical. To convince yourself that this is worth doing, take a few photos of your rooms that don’t take horizontal and vertical lines into consideration and see how they look. You’ll be surprised just how bad they look compared to the ones you take properly. Shoot Straight On You’ll also notice that professional interior photographers always shoot subjects (such as bathtubs) straight on. That is, they don’t try to peer into them. Instead, they photo them side-on. Why this looks so much better is actually a bit of a mystery but it works. Therefore, think carefully about your body position and how you could change it to take a better shot. Kneeling down, sitting, or even lying down can make your rooms look spectacular. Shoot Late In The Afternoon  Unsplash - CC0 License
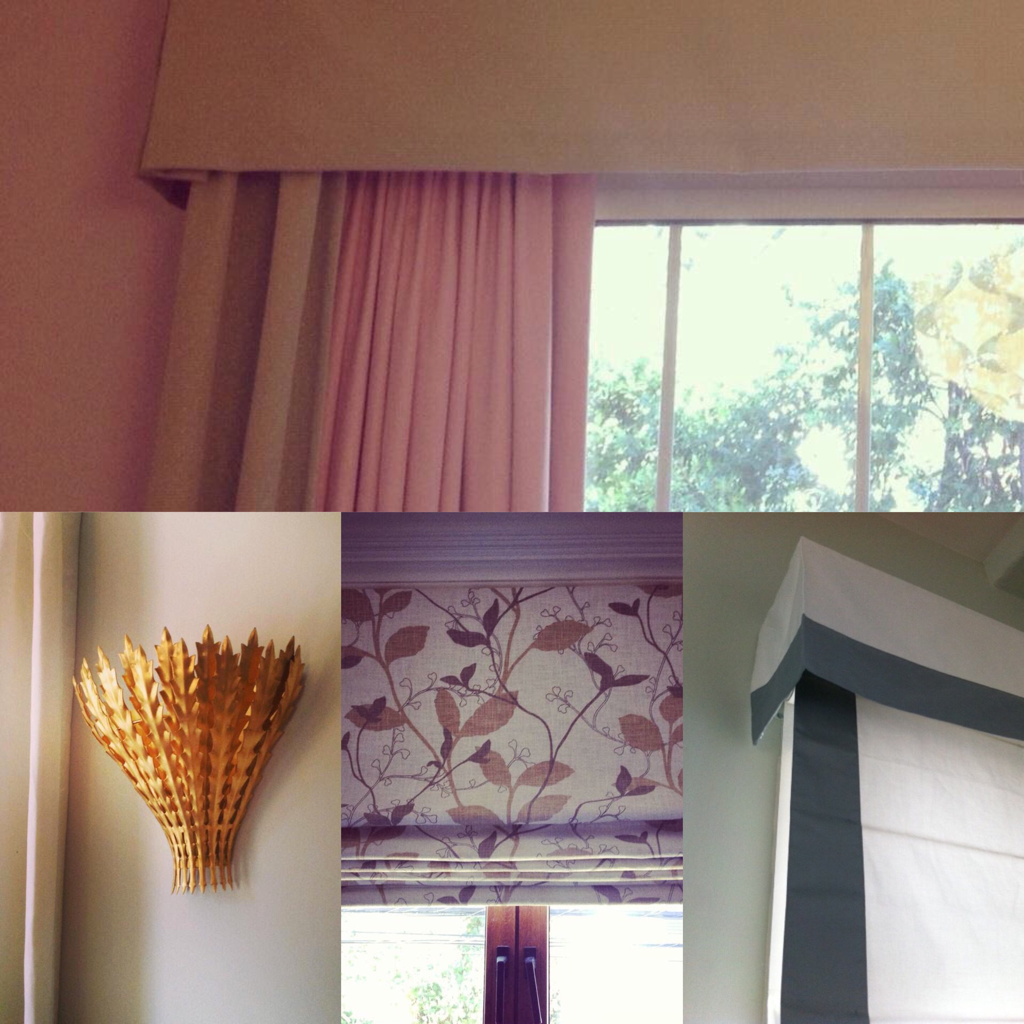
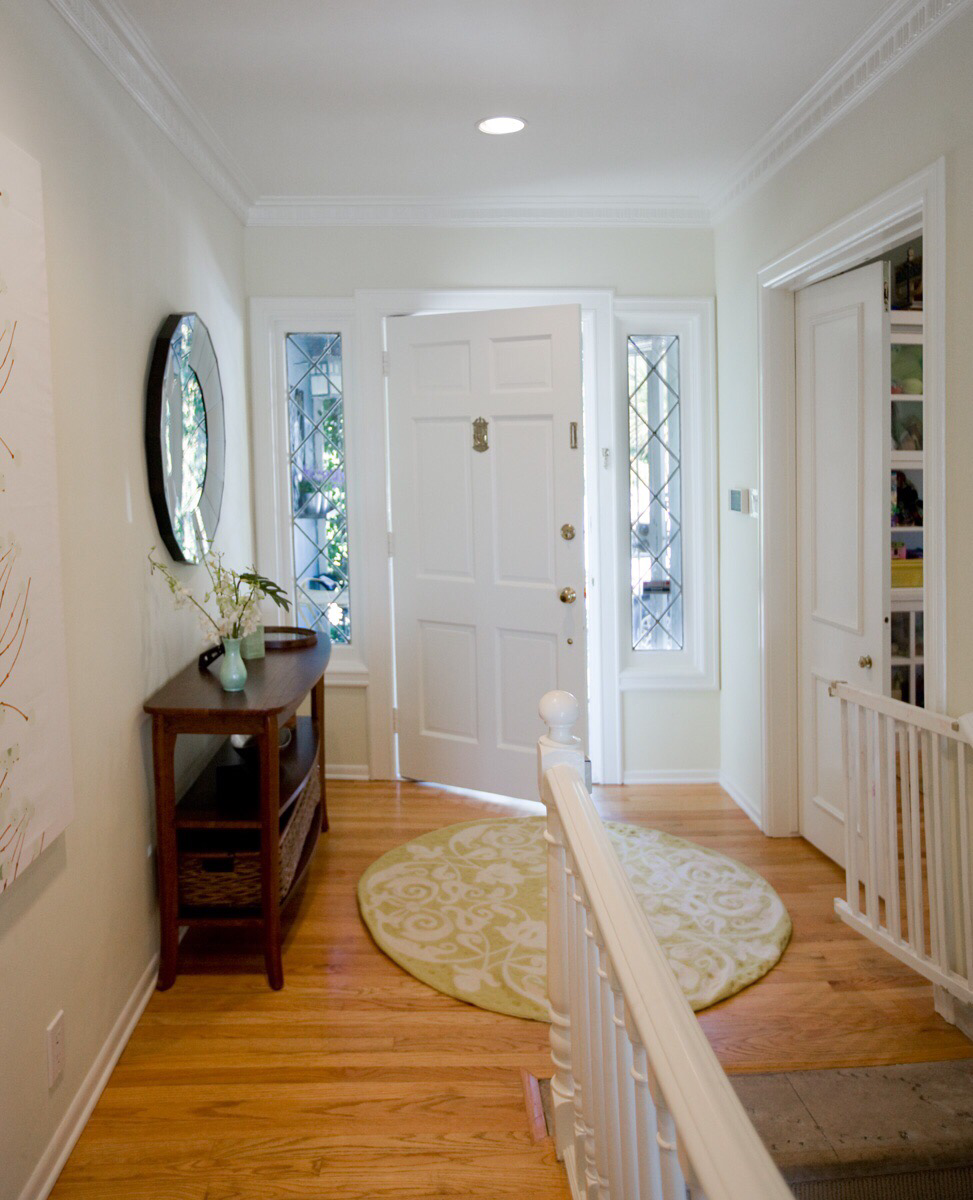
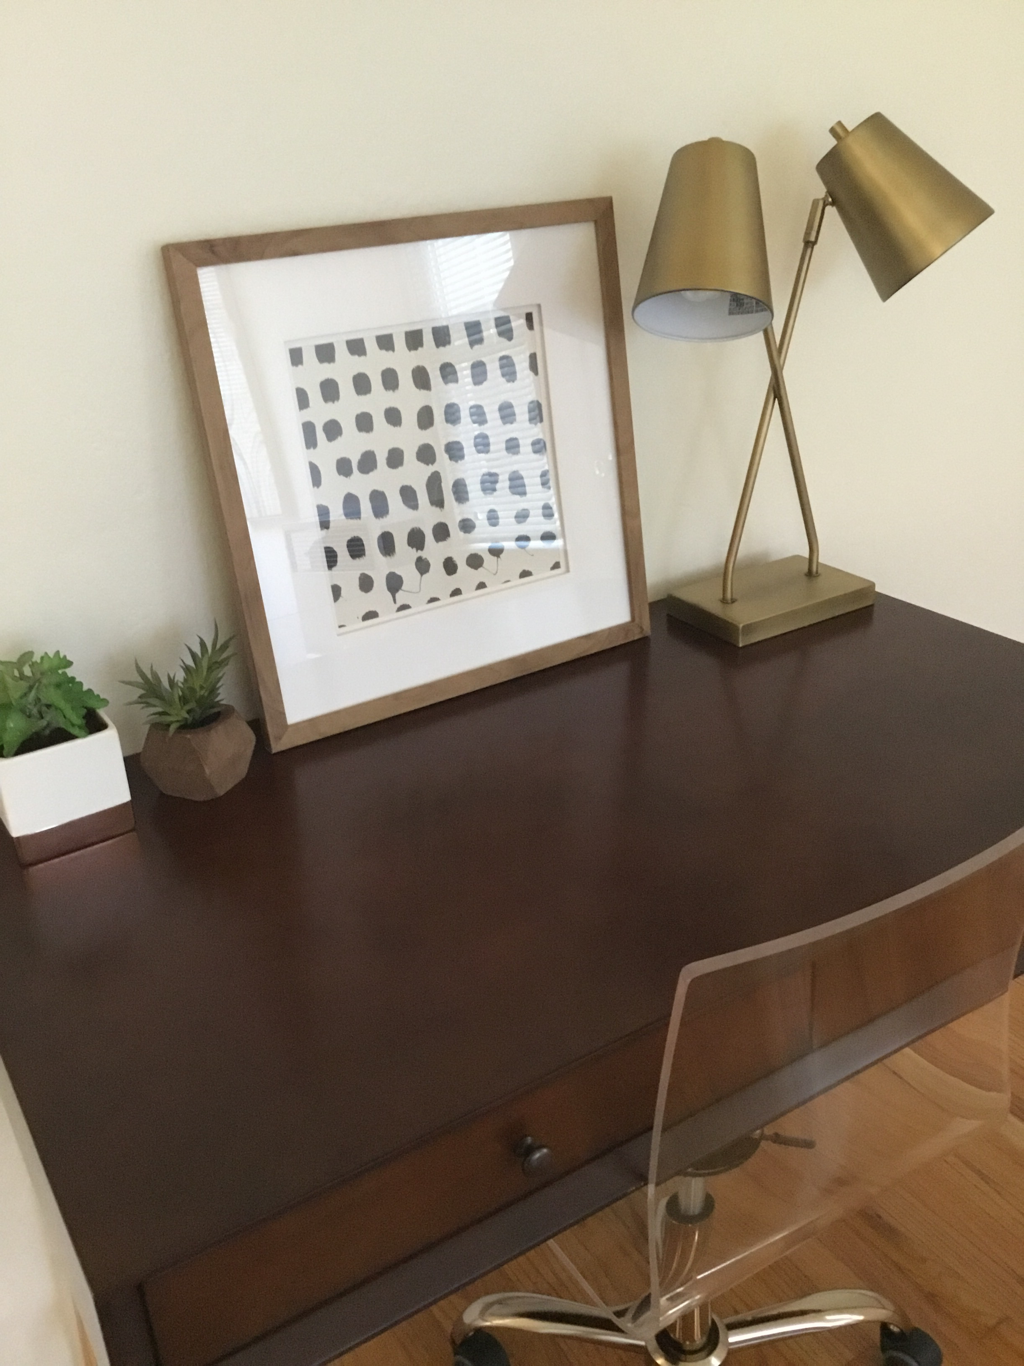
Here’s another pro tip: shoot interiors in the morning or late in the afternoon if you’re using your phone. You want to avoid harsh sunlight coming in from the top of the photo and casting shadows across all your images. If you can shoot on a cloudy day, that’s even better. Natural dullness opens up space for you to artificially illuminate images (or get your camera to do it for you). Overcast days generally fill rooms with a soft light that you can brighten up later at the editing stage. Edit Your Photos Speaking of which, it helps enormously if you can edit your photos after you take them. Touching them up can bring out the best in the room and show people features as they are meant to be seen. If you’re not sure how to do this, you can simply follow your phone’s recommendations. There’s no need to use complex software, like Photoshop, unless you’re working professionally or have specific effects in mind that you want to achieve. The iPhone takes away a lot of the hard work on most pictures for you. You simply adjust the sliders and it’ll give you the effect that you want. You can also adjust all your settings to the same preset. This way, you can edit photos with the click of a button and get them all in the same style. Don’t forget, if there’s an interior that you really like, you can set it as your background by following the instructions described on sites like https://setapp.com/how-to/screenshot-on-iphone. Brighten Your Images With Natural Light When photographing interiors, don’t forget to brighten them with as much natural light as possible. You want the images to appear as “true” light, something that modern phones are getting better at doing. Artificial light generally doesn’t work as well. If you decide to use your phone to take artificially-lit interior photos, you’ll need to edit them afterward to make the light appear whiter. Beware that natural light changes throughout the day. If you take photos too late in the evening, they’ll appear dark on camera and, possibly, reddish in color. Try taking photos a couple of hours before sunset or after sunrise for the best results. Conclusion In summary, you can take interior design photos on a phone, but you need to follow some rules. With the quality of modern phone cameras, it’s easier to achieve than you might think. If you are shooting on your phone, make sure that you get the lighting right and arrange the room in the correct format. Also, avoid the temptation to blur out any of the foreground or background, unless you’re specifically going for perspective. Remember, most people who see interior design photos want to look at all the items in the room, not just the main subject because they want to get ideas. If a photo doesn’t quite turn out how you hoped, don’t delete it immediately. Play around with your phone’s editing tools to see if you can improve it.
0 Comments
Your comment will be posted after it is approved.
Leave a Reply. |
Design Services
Looking for interior design help? Offering design consultations and online design for anyone, anywhere. Happy to help with any of your design needs! About
Archives
July 2024
Categories
All
Offering sponsored blog posts + social media campaigns, details here.
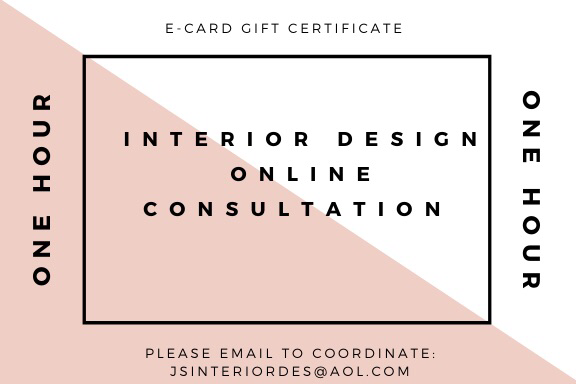
Gift Cards E-Cards for Design Consultations, more info here.
Online Design: complete flat rate room design, for anyone, anywhere. More info here.
Book A Design Consultation On-Site or Online for anyone, anywhere! Details here
Window Treatment Consultations
Moving Day Services
Design Layouts, details here
Color Consultation for Interior/Exterior
Flat Rate Kitchen Design & Bathroom Design Package. Details here
Flat Rate Home Office Design, just $450. Details here.
Flat Rate Outdoor Design, $450. Details here.

Flat Rate Room Design for Kids $500 per room, details here.
“Work with what you got!” - Room Makeovers. Details here.
Room Refresh! - Room accessorizing services. Details here.
|
 RSS Feed
